Step-by-step guide to turning pallets into a storage unit for your kitchen
By
Cassie Fairy
If you need some extra storage space in your kitchen but don’t want to splash the cash on a refit, today’s project could be the solution. We’re upcycling 2 discarded pallets to create a wall-mounted pantry unit. It includes shelving for tins, jars, a cupboard for sauces, and a spice rack to keep seasonings close to hand while you’re cooking. The chalkboard and cork doors provide handy spaces to make grocery shopping lists and to pin up notes.
You can make the cabinet with any size of pallet and can space out the shelves to accommodate taller bottles or shorter tubs accordingly. We’ve sanded and sealed the pallet wood for a rustic finish and have added pops of colour inside the shelving. Choose paint colours to coordinate with other accessories in your kitchen or, alternatively, you could paint the entire unit with chalk paint to fit into your existing cabinets seamlessly.
You will need:
- 2 pallets
- Wrecking bar
- Saw
- Drill
- Screwdriver
- Sandpaper
- Teak oil or varnish
- Colourful spray paint
- Hinges
- Screws
- Nails
- Cork board
- Blackboard
Step 1
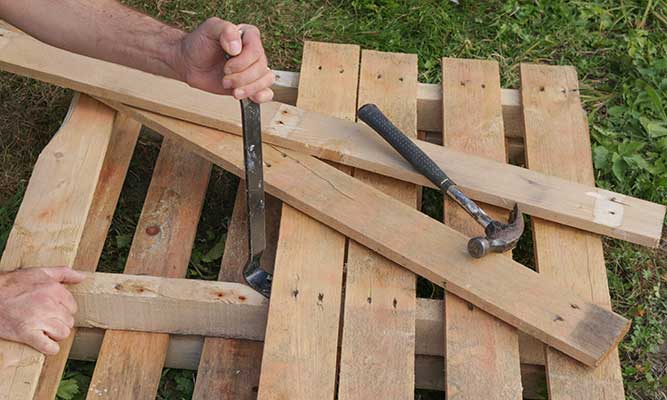
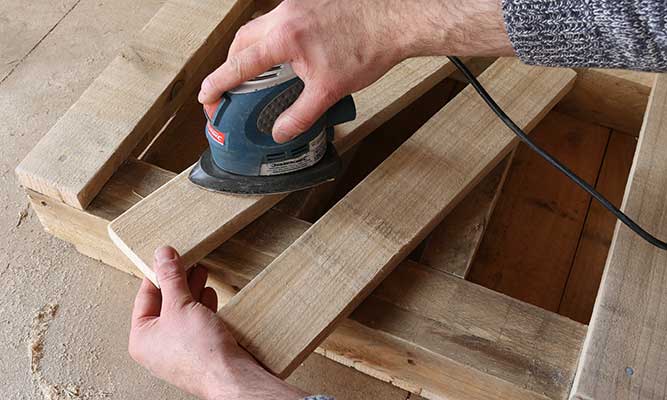
Use a wrecking bar to deconstruct the pallets. You need to use three of the chunky side pieces as the frame for the pallet pantry so be careful not to damage the wood too much. Remove all nails and sand down the pieces of wood until they’re smooth.
Step 2
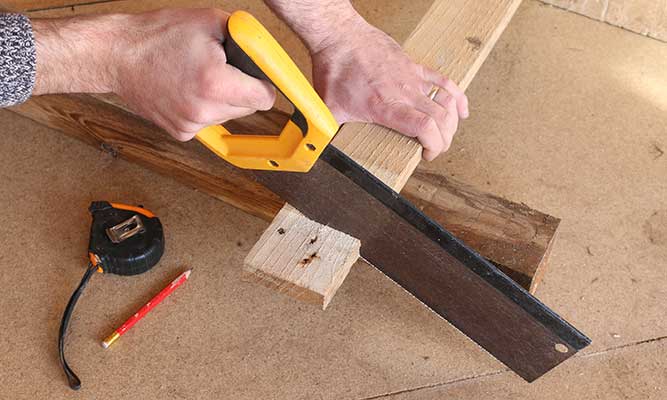
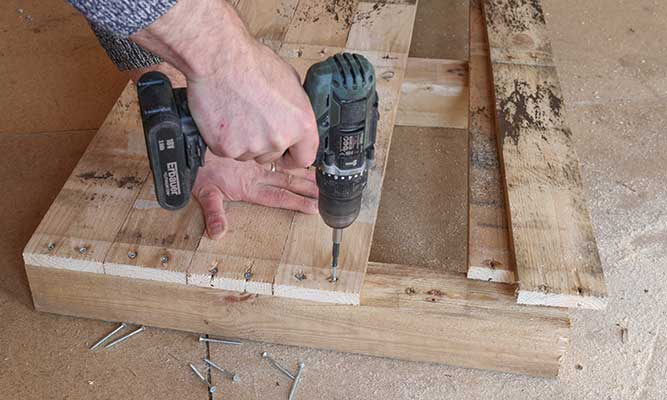
Cut these chunky pieces to the size that you want the height of finished pallet pantry to be. We’ve cut the sides to a height of 60cm and cut two pieces across the width of 93cm. Screw together in the corners to construct a rectangular frame.
Step 3
Cut down the pallet planks to cover the width of the back of the cabinet. In this case we cut them to 108cm, thereby cutting off the messy nail holes from the pallet. Sand the best side of the wood and attach the pieces to the back of the frame with screws, best-side inwards.
Step 4
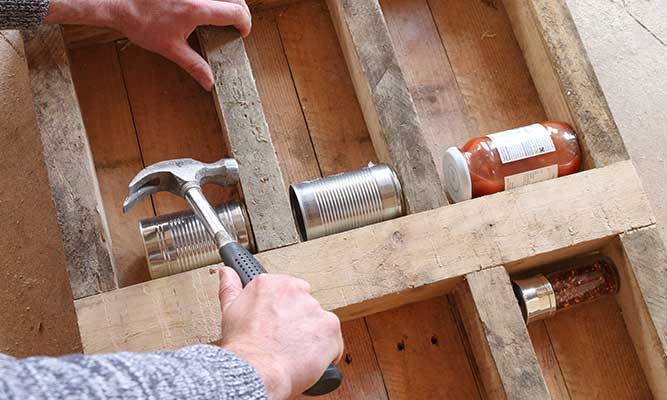
Add the third chunky upright to the middle of the cabinet and screw in place. Cut more pallet planks that fit between the central upright and sides to use as shelves. You can use tins or jars to determine the height between shelves and screw them in place. Sand the wood smooth.
Step 5
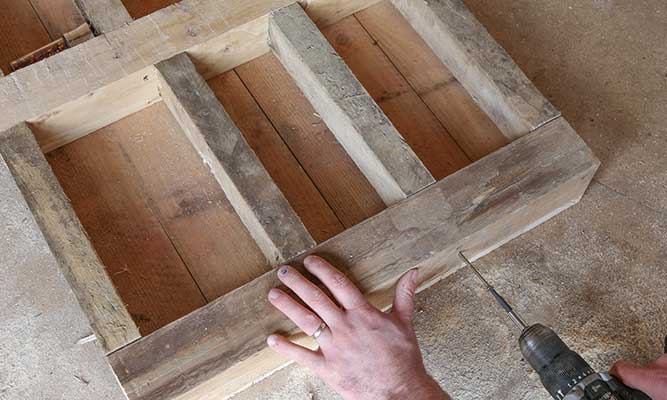
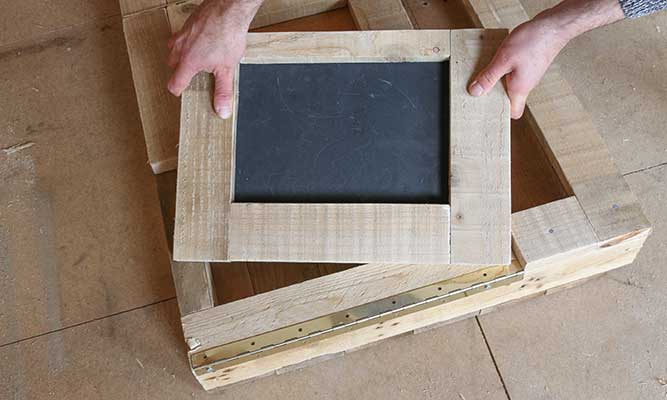
Make two ‘frames’ from sanded pallet wood to fit over one side of the pallet pantry. Attach a chalkboard and cork board to the back of the frames to create cupboard doors. Ensure the length of the door is a little longer than lower shelf so that you can open them using the overlap below the frame. Keep an eye out for chalk and cork boards at car boot sales or find them in the office section of discount stores, or simply use a cork tile and piece of board from a DIY store, painted with chalkboard paint.
Step 6
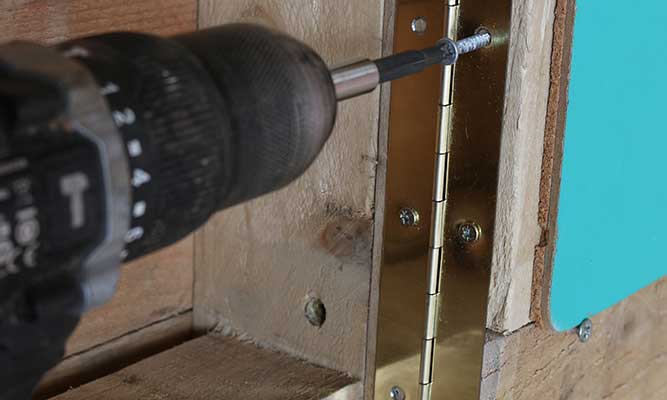
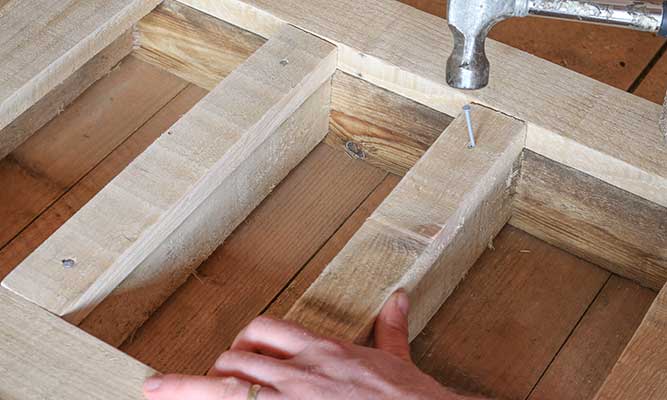
Screw hinges to the side of each door and attach to the unit to cover the shelves. Use the sanded pallet wood to create a neat trim on the front surface of the pallet pantry and nail in place. This ensures there is a slight lip in front of each shelf, so the contents won’t fall out of the pallet pantry.
Step 7
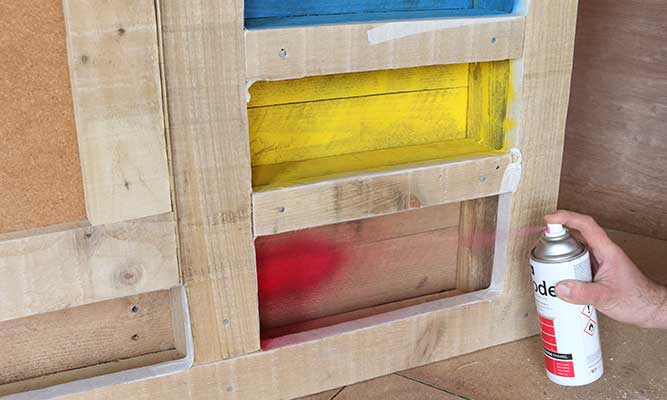
You can paint the pallet pantry in any colour combination you wish. Simply mask off the wood in order to paint inside the shelving ‘cubby holes’ or give the cabinet an all-over coat of chalk paint. Seal the entire unit with a varnish, oil or polyurethane spray finish.
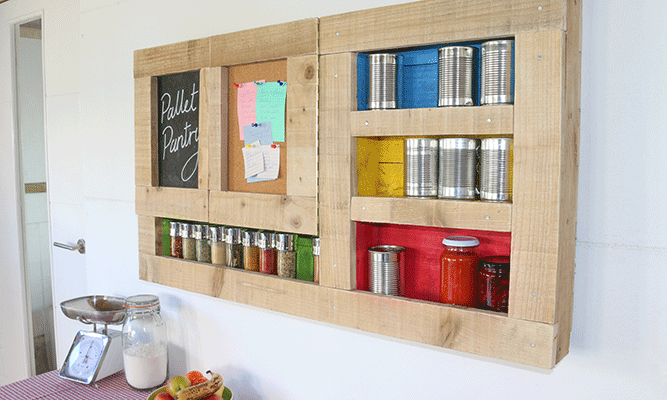
We hope this pallet pantry will prove useful in your kitchen as an extra storage space for spices, sauces, tins and jars. As with all our projects, please take care while using tools, materials and equipment and don’t take any risks.
*****
If you fancy trying this or any other pallet projects and need pallets please do contact our stores as we often have some going spare.